반응형

Test 의견

: 완벽 호환 안될 수 있음. custom model이라면 이슈를 미리 고려해서 모델 생성 후 적용해야할듯

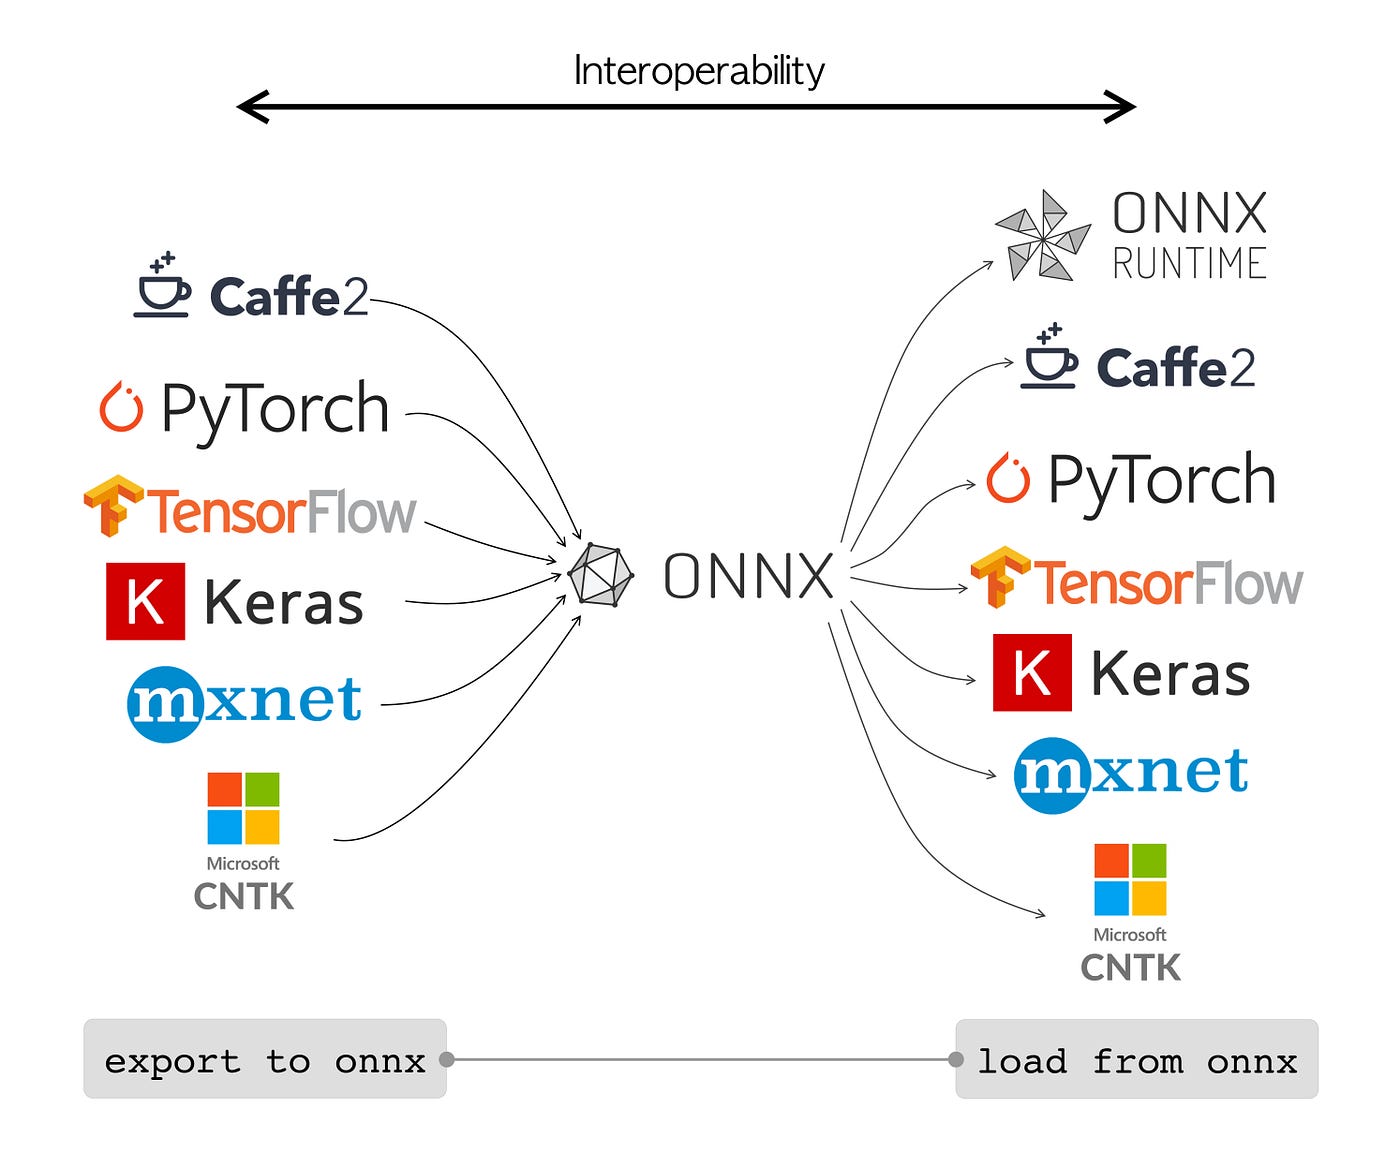
TensorFlow 2 PyTorch

  1. 환경설정

     $ pip install tensorflow
     $ conda install pytorch torchvision cpuonly -c pytorch
    
     $ conda install -c conda-forge onnx
     $ pip install tf2onnx
     $ pip install onnx2pytorch
  2. TF Model 생성 !!주의!! GlobalAveragePooling2D, GlobalMaxPooling2D 등 pytorch에 없는 layer는… 에러 남!

     import tensorflow as tf
     class_num = 5
    
     class ClassificationModel(tf.keras.Model):
         def __init__(self, class_num, dim=128, rate=0.1):
             super(ClassificationModel, self).__init__()
             self.conv2d = tf.keras.layers.Conv2D(2, 3, padding='same', activation='relu')
    
             self.dense1 = tf.keras.layers.Dense(dim, activation='relu')
             self.dense2 = tf.keras.layers.Dense(class_num, activation='softmax', name='output')
    
             self.flatten = tf.keras.layers.Flatten()
             self.dropout = tf.keras.layers.Dropout(rate)
    
         def call(self, inputs):
    
             embedding = self.conv2d(inputs)
    
             embedding = self.flatten(embedding)
    
             embedding = self.dense1(embedding)
             embedding = self.dropout(embedding)
    
             embedding = self.dense2(embedding)
    
             return embedding
    
     input_shape = (224, 224, 3)
     classification_model = ClassificationModel(class_num=class_num, rate=0.2)
    
     ## sample test
     temp_input = tf.random.uniform(input_shape, dtype=tf.float32, minval=0, maxval=256)
     output = classification_model(tf.expand_dims(temp_input, 0))
    
     output.shape # TensorShape([1, 5])
    
     # model architecture & params 확인
     classification_model.build((None, 224, 224, 3))
     classification_model.summary()
    
     classification_model.compile(optimizer='adam',
                              loss=tf.keras.losses.CategoricalCrossentropy(from_logits=False),
                              metrics=['categorical_accuracy'])
    
     ## !! 사실은 train 해야함 !!
    
     model_save_path = 'image_classification_model'
     tf.keras.models.save_model(classification_model, model_save_path, include_optimizer=False)
  3. tf2onnx

     $ python -m tf2onnx.convert --saved-model image_classification_model --output image_classification_model.onnx
  4. ONNX inference Test

     import numpy as np
     import onnxruntime as ort
    
     img_path = 'tmp224.npy'
     img = np.load(img_path)  # input shape와 맞춰서 저장해놓음
     img = (img/255.0).astype('float32')  # input scale
     img = np.expand_dims(img, 0)
    
     sess_ort = ort.InferenceSession('image_classification_model.onnx')
    
     res = sess_ort.run(None, input_feed={sess_ort.get_inputs()[0].name: img})
    
     ## res
     # [array([[0.24008103, 0.19883673, 0.1655813 , 0.20317516, 0.19232577]],
     #       dtype=float32)]
  5. onnx2pytorch

     import onnx
     from onnx2pytorch import ConvertModel
    
     onnx_model = onnx.load('image_classification_model.onnx')
     pytorch_model = ConvertModel(onnx_model)
     pytorch_model
    
     # ConvertModel(
     #   (Transpose_StatefulPartitionedCall/classification_model_2/conv2d_3/Conv2D__6:0): Transpose()
     #   (Conv_StatefulPartitionedCall/classification_model_2/conv2d_3/Conv2D:0): Conv2d(3, 2, kernel_size=(3, 3), stride=(1, 1), padding=(1, 1), bias=False)
     #   (Relu_StatefulPartitionedCall/classification_model_2/conv2d_3/Relu:0): ReLU(inplace=True)
     #   (Transpose_StatefulPartitionedCall/classification_model_2/conv2d_3/Conv2D__8:0): Transpose()
     #   (Reshape_StatefulPartitionedCall/classification_model_2/flatten_1/Reshape:0): Reshape(shape=[    -1 100352])
     #   (MatMul_StatefulPartitionedCall/classification_model_2/dense_3/MatMul:0): Linear(in_features=100352, out_features=128, bias=False)
     #   (Relu_StatefulPartitionedCall/classification_model_2/dense_3/Relu:0): ReLU(inplace=True)
     #   (MatMul_StatefulPartitionedCall/classification_model_2/output/MatMul:0): Linear(in_features=128, out_features=5, bias=False)
     #   (Softmax_output_1): Softmax(dim=-1)
     # )
     import torch
     torch.save(pytorch_model, 'image_classification_model.pth')
  6. pytorch inference test

    : 결과 같은지 체크

     pytorch_model = torch.load('image_classification_model.pth')
     res = pytorch_model(torch.Tensor(img)) # dummy_input.reshape(1, 224,224, 3))
    
     ## res
     # tensor([[0.2401, 0.1988, 0.1656, 0.2032, 0.1923]], grad_fn=<SoftmaxBackward0>)
반응형
반응형

과거의 Tensorflow로 짜둔 모델을 Pytorch로 새롭게 훈련하지 않고 wegiht과 bias를 가져와서 변환을 해보고자 했습니다.
(2022.07.05 기준) 아직 테스트는 진행하지 못함. 추후에 샘플 모델 변환 테스트를 진행 후 코드를 추가로 올리도록 하겠습니다.
(2022.07.12 기준) Tensorflow -> ONNX -> Pytorch Test 완료


1. 직접 weight, bias 변경

https://blog.pingpong.us/torch-to-tf-tf-to-torch/

  1. 내부에서 사용하는 모델들을 PyTorch, TensorFlow 버전으로 재작성

    1. 일단 모델 구조와 코드를 맞춰야 함

      idea: sklearn metric, preprocessing 사용하기 (변경해야할 코드 최소화)

      How to Convert from Keras/Tensorflow to PyTorch

  2. 모델의 모든 가중치를 변환해주는 코드를 추가 작성

    1. TF와 Torch의 weight shape이 다름 → Transpose 하기
    2. numpy로 변형 후 적용!
    3. 각각 구현체의 순서가 다를 경우 분해 혹은 합쳐서 변형해야함…(이게 고될듯)
  • ex code (euni 조금 변형)

      # from TensorFlow Model to PyTorch Model
      # tf_module의 weight를 torch_module의 weight에 적용하는 예시
      tf_weights = tf_model.get_weights()[0]
      tf_biases = tf_model.get_weights()[1]
    
      ## TF와 Torch의 weight shape이 다름 → Transpose 하기
      torch_model.weight.data = torch.from_numpy(tf_weights)
      torch_model.bias.data = torch.from_numpy(tf_biases)
      # from PyTorch Model to TensorFlow Model
      weight = torch_model.state_dict()["weight"].detach().numpy()
      bias = torch_model.state_dict()["bias"].detach().numpy()
    
      ## TF와 Torch의 weight shape이 다름 → Transpose 하기
      tf_model.set_weights([weight, bias])

2. ONNX를 이용하는 방법

https://learnopencv.com/pytorch-to-tensorflow-model-conversion/

https://miro.medium.com
그림 출처: https://miro.medium.com

반응형
반응형

Keras Tuner Tutorial

https://www.tensorflow.org/tutorials/keras/keras_tuner?hl=ko

keras tuner를 사용하면 하이퍼파라미터 최적화를 쉽게 할 수 있다.


Hyperparameter tuning이란

신경망을 훈련하는 동안 손실, 훈련/검증 정확도를 모니터링하여 적절한 훈련이 되도록 hyper-parameters를 제어해야한다. (다른 parameters의 값은 훈련을 통해 도출된다.)

Neural Networks 훈련의 성공에 올바른 hyperparameters 선택이 중요한 영향을 끼진다. 하이퍼파라미터를 선택하는 과정을 하이퍼파라미터 튜닝이라고 한다.

  • Hyperparameters: learning rate, lr decay schedule, dropout rate 등!

source: https://cs231n.github.io/neural-networks-3

Overfitting(과적합)이란 모델이 train dataset에는 높은 정확도를 가졌지만 일반화되지 않았다는 의미로 test data를 잘 예측하지 못할 가능성이 높다.


Code 예시

https://blog.tensorflow.org/2020/01/hyperparameter-tuning-with-keras-tuner.html

import tensorflow as tf

# model 정의
# : 튜닝할 hyperparmeter를 여기서 정의
# 튜닝하는 방법 예시)
# hp.Int(hp_name, min_value, max_value, step)
# hp.Float(hp_name, min_value, max_value, sampling)
# hp.Choice(hp_name, values)

def build_model(hp):
  inputs = tf.keras.Input(shape=(32, 32, 3))
  x = inputs
  for i in range(hp.Int('conv_blocks', 3, 5, default=3)):
    filters = hp.Int('filters_' + str(i), 32, 256, step=32)
    for _ in range(2):
      x = tf.keras.layers.Convolution2D(
        filters, kernel_size=(3, 3), padding='same')(x)
      x = tf.keras.layers.BatchNormalization()(x)
      x = tf.keras.layers.ReLU()(x)
    if hp.Choice('pooling_' + str(i), ['avg', 'max']) == 'max':
      x = tf.keras.layers.MaxPool2D()(x)
    else:
      x = tf.keras.layers.AvgPool2D()(x)
  x = tf.keras.layers.GlobalAvgPool2D()(x)
  x = tf.keras.layers.Dense(
      hp.Int('hidden_size', 30, 100, step=10, default=50),
      activation='relu')(x)
  x = tf.keras.layers.Dropout(
      hp.Float('dropout', 0, 0.5, step=0.1, default=0.5))(x)
  outputs = tf.keras.layers.Dense(10, activation='softmax')(x)

  model = tf.keras.Model(inputs, outputs)
  model.compile(
    optimizer=tf.keras.optimizers.Adam(
      hp.Float('learning_rate', 1e-4, 1e-2, sampling='log')),  # 참고: 적절한 learning_rate = 10 ** uniform(-6, 1)
    loss='sparse_categorical_crossentropy', 
    metrics=['accuracy'])
  return model
import kerastuner as kt

# Keras Tuner에는 RandomSearch, Hyperband, BayesianOptimization 및 Sklearn의 네 가지 튜너가 있음
tuner = kt.Hyperband(
    build_model,  # model compile까지 포함
    objective='val_accuracy',  # best val_accuracy 기준으로 최적화
    max_epochs=30,
    hyperband_iterations=2,
    directory='my_dir',
    project_name='tuner'
)
import tensorflow_datasets as tfds
import IPython
class ClearTrainingOutput(tf.keras.callbacks.Callback):
    def on_train_end(*args, **kwargs):
        IPython.display.clear_output(wait = True)

data = tfds.load('cifar10')
train_ds, test_ds = data['train'], data['test']

def standardize_record(record):
  return tf.cast(record['image'], tf.float32) / 255., record['label']

train_ds = train_ds.map(standardize_record).cache().batch(64).shuffle(10000)
test_ds = test_ds.map(standardize_record).cache().batch(64)

## Hyperparameter Search (Train)
tuner.search(train_ds,
             validation_data=test_ds,
             epochs=30,
             callbacks=[tf.keras.callbacks.EarlyStopping(patience=1),
                                                 ClearTrainingOutput()])
# Get the optimal hyperparameters
best_hps = tuner.get_best_hyperparameters(num_trials=1)[0]
# best_model = tuner.get_best_models(1)[0]


Hyperparmeter Tuning 과정 예시

  • cifa10, resnet50으로 테스트 결과
    • 튜닝한 hyperparameter
    • : dense units, kernel_rate(lr regularizer), dropout, learning rate

keras tuner test

반응형
반응형

참고: https://tutorials.pytorch.kr/intermediate/flask_rest_api_tutorial.html

장점

  1. 데이터의 전, 후 처리를 할 수 있다.
  2. 쉽게 API를 사용할 수 있어 범용성이 좋다.


Flask

아주 가벼운 웹프레임워크로 비교적 쉽게 배워서 사용할 수 있다.

$ pip install flask


1. 간단하게 웹서버 구성하기

from flask import Flask
# app = Flask("test")  # 설치 test용
app = Flask(__name__)

@app.route("/ping", methods=['GET'])
def ping():
    return "pong"

if __name__ == '__main__':
    app.run()


2. API 실행하기

$ Flask_APP=app.py FLASK_DEBUG=1 flask run

* 참고: window에서 실행 $ python app.py


3. 응답 확인하기

1) 웹 브라우저로 확인하기 : http://localhost:5000/ping 에 접속하면 pong 이 표시됨

2) httpie로 확인하기 : http -v GET http://localhost:5000/ping

3) python으로 확인하기

import requests

resp = requests.get("http://localhost:5000/ping")


Pytorch Rest API 배포하기


1. pytorch 모델 API 서버에 통합하기

from flask import Flask, jsonify, request
from PIL import Image
import torch
import torchvision.transforms as imtransforms


app = Flask(__name__)

# custom model 선언 & weight load
PATH = '{Mymodel_pretrained_weight}.pt'
model = Mymodel()
model.load_state_dict(torch.load(PATH, map_location=device), strict=False)
model.eval()


def transform_image(image_bytes):
    image = Image.open(io.BytesIO(image_bytes))  # byte file open
    image = imtransforms.Resize((imsize, imsize))(image)
    image = imtransforms.ToTensor()(image)
    return image.unsqueeze(0).to(device, torch.float)

def get_prediction(image_bytes):
    tensor = transform_image(image_bytes)
    outputs = model(tensor)  # predict
    ...
    return class_id, class_name  # 자유롭게 return 가능


@app.route('/predict', methods=['POST'])
def predict():
    file = request.files['file']
    image_bytes = file.read()
    class_id, class_name = get_prediction(image_bytes)
    return jsonify({'class_id':class_id, 'clss_name': class_name})


2. API 실행하기

$ FLASK_ENV=development FLASK_APP=app.py flask run

flask run


3. predict 하기

import requests
import json

resp = requests.post("http://localhost:5000/predict", 
		       files={"file": open('{file_name}.jpg', 'rb')})

# model predict 결과 확인하기
# 200: success
print(json.loads(resp.content))
반응형

+ Recent posts